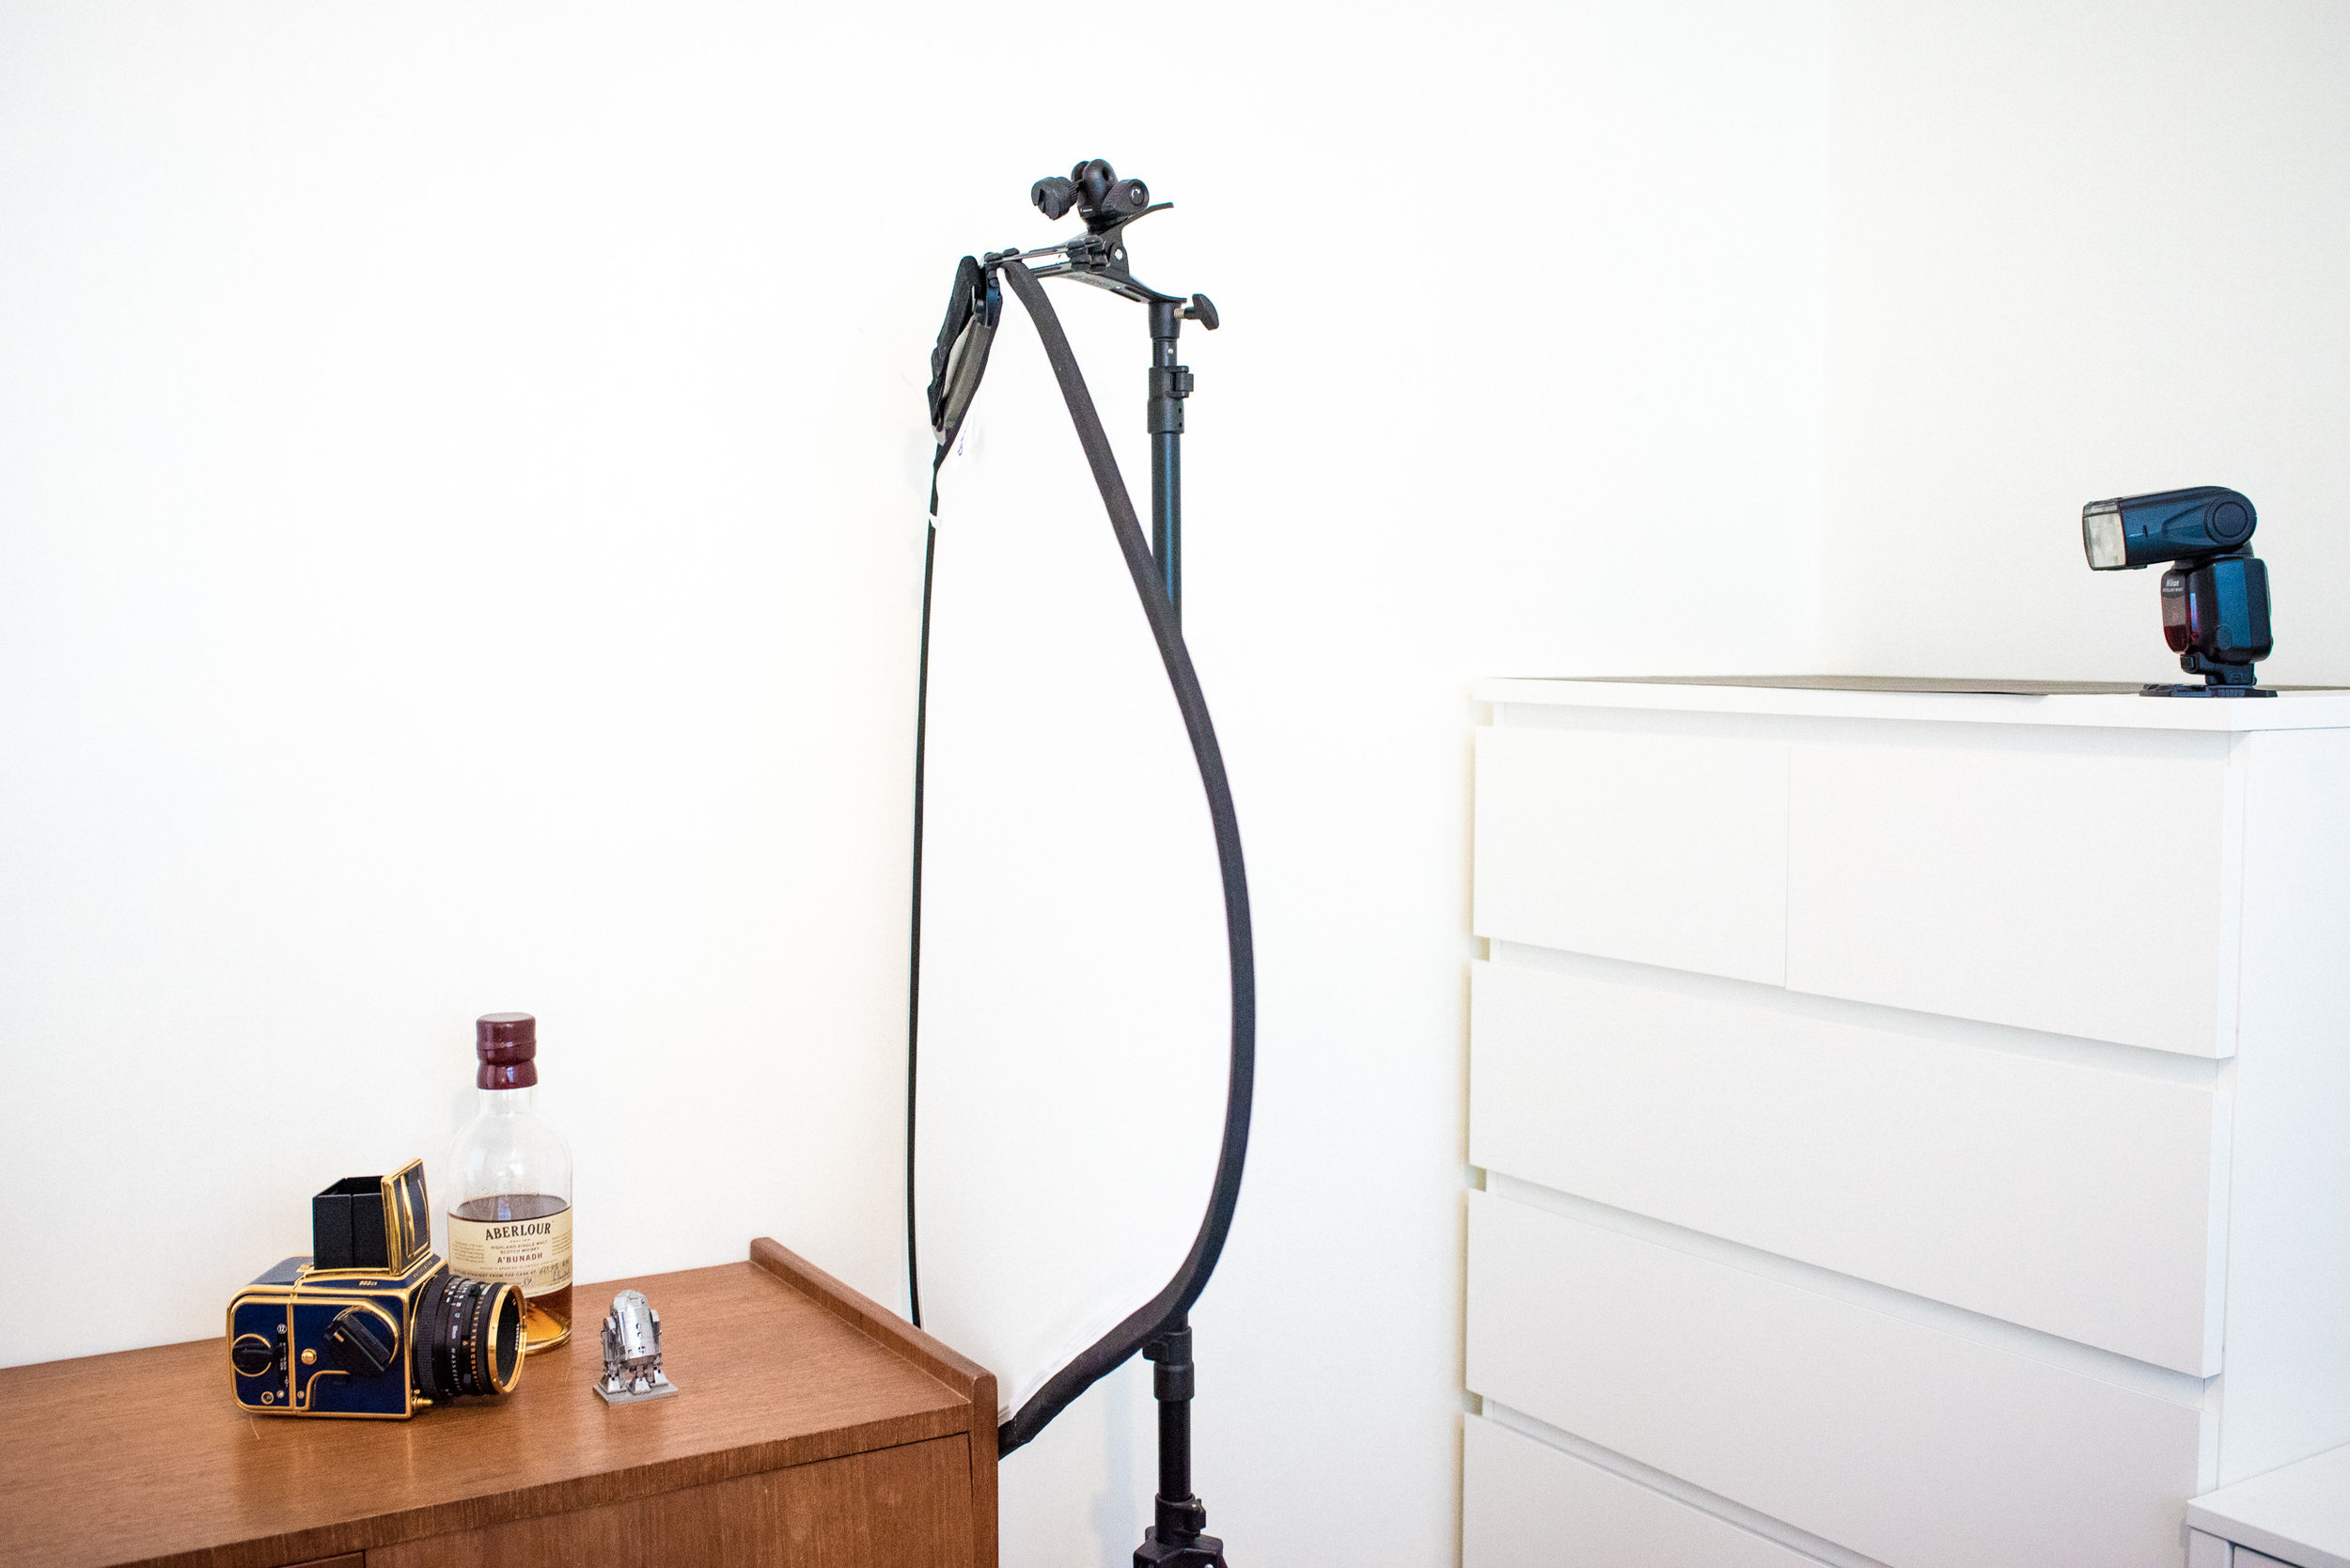
One thing that was important for me when I started blogging was to have nice pictures. At least for most posts, the ones I can put a bit of time into. Many of the things I write are about stuff and things so I set up a table with a small photography studio so that I easy and fast could take some nice pictures of the stuff and things.
Today I wanted to show you that setup and also maybe say a word or two about the lighting and techy part. I use a Nikon D800 with multiple different lenses, mostly a 50 mm, an 85 mm and a 45 mm tilt/shift macro lens for the close ups. For lighting I use a Nikon SB-910 camera flash which I use of camera with Nikon’s own wireless system. As a flash like that makes quite a harsh light I need one more thing to be able to take nice photos, and that is a Lastolite diffuser.
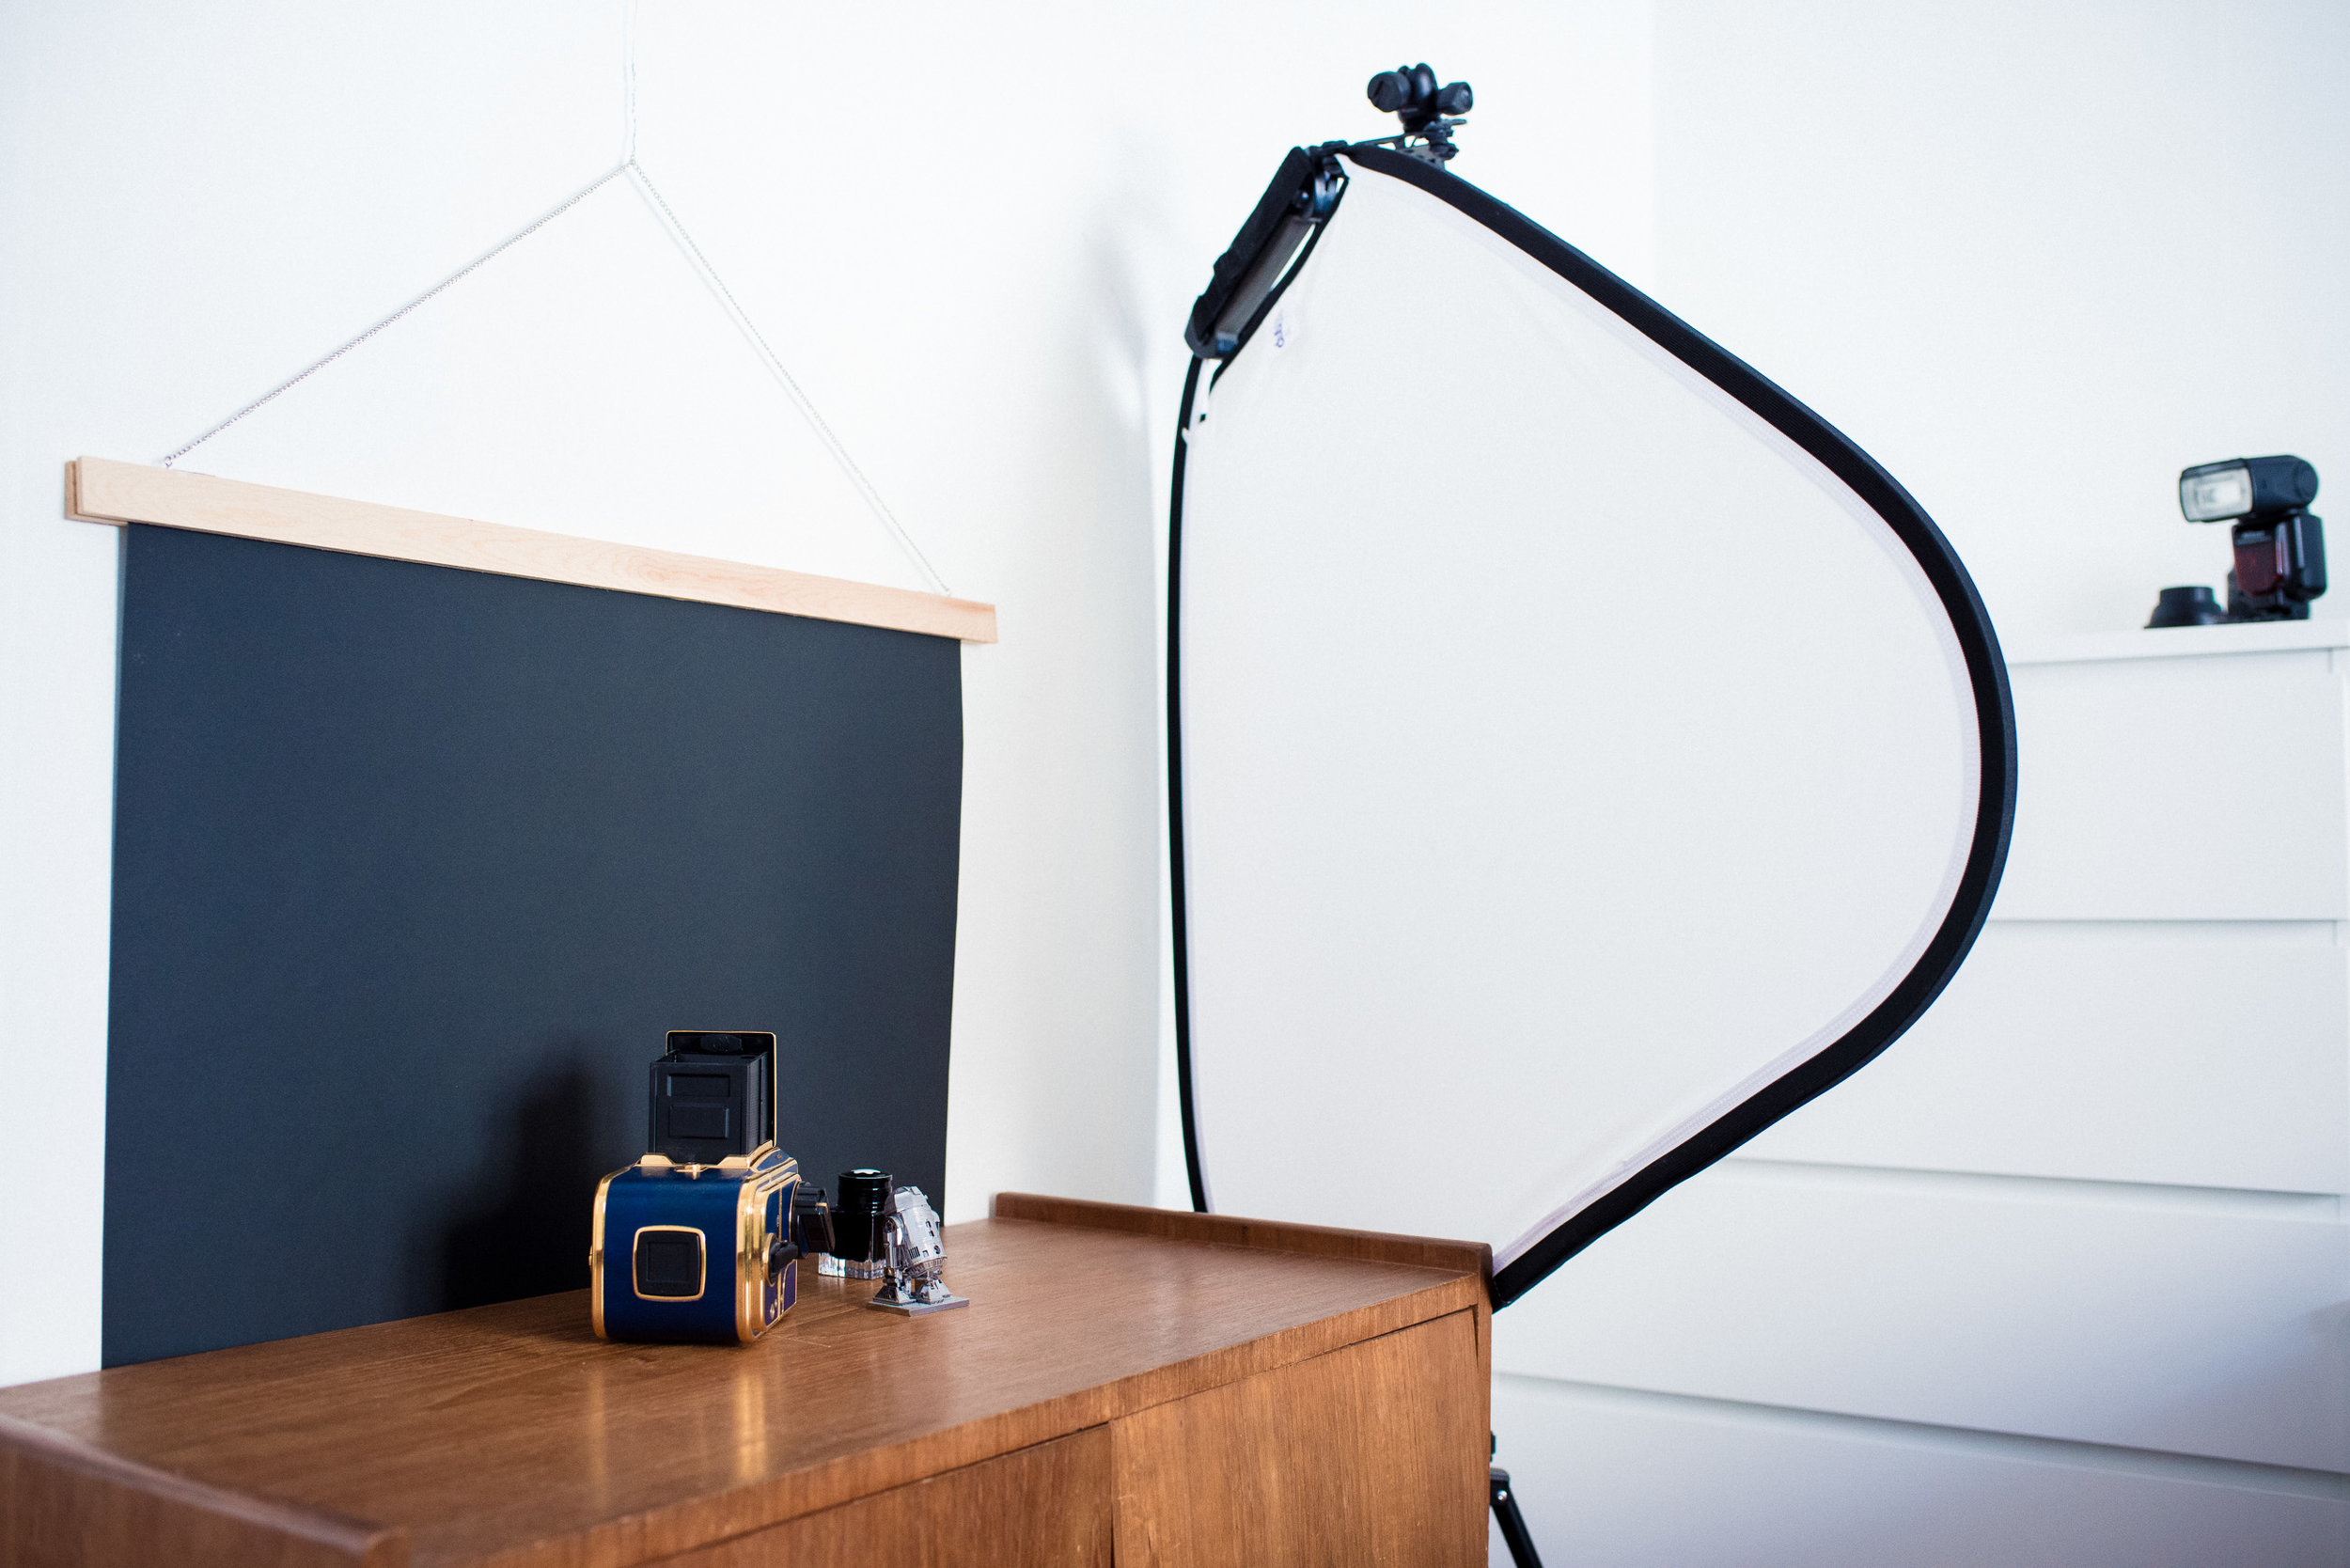
The reason why people associate flashes with harsh and hard light is because the light source is small relative to the subject being photographed. Without going into the details and physics to much I’ll try to explain how a diffuser fixes this, and where it should be positioned, all a bit simplified to keep it easy to understand.
First of all, if the size of your light source is bigger than the object you are photographing you are going to get a soft light. The bigger the source, the softer the light. If you photograph someone with the flash on your phone or camera the shadows become hard and more often than not this is not what you want. If you instead turn of the flash and put your subject by a window you get a much nicer light. This is because the whole window acts like the light source, and it’s probably bigger than your subject. Maybe you’re thinking “But the window isn’t the light source, the sun is?” right now, and of course you are right, but in practise that isn’t how it works. The sun hits the window and the window diffuses and spreads the light around, this is when the window in practise “becomes” a light source. This is also exactly what happens with the flash (the sun) and the diffuser screen (the window).
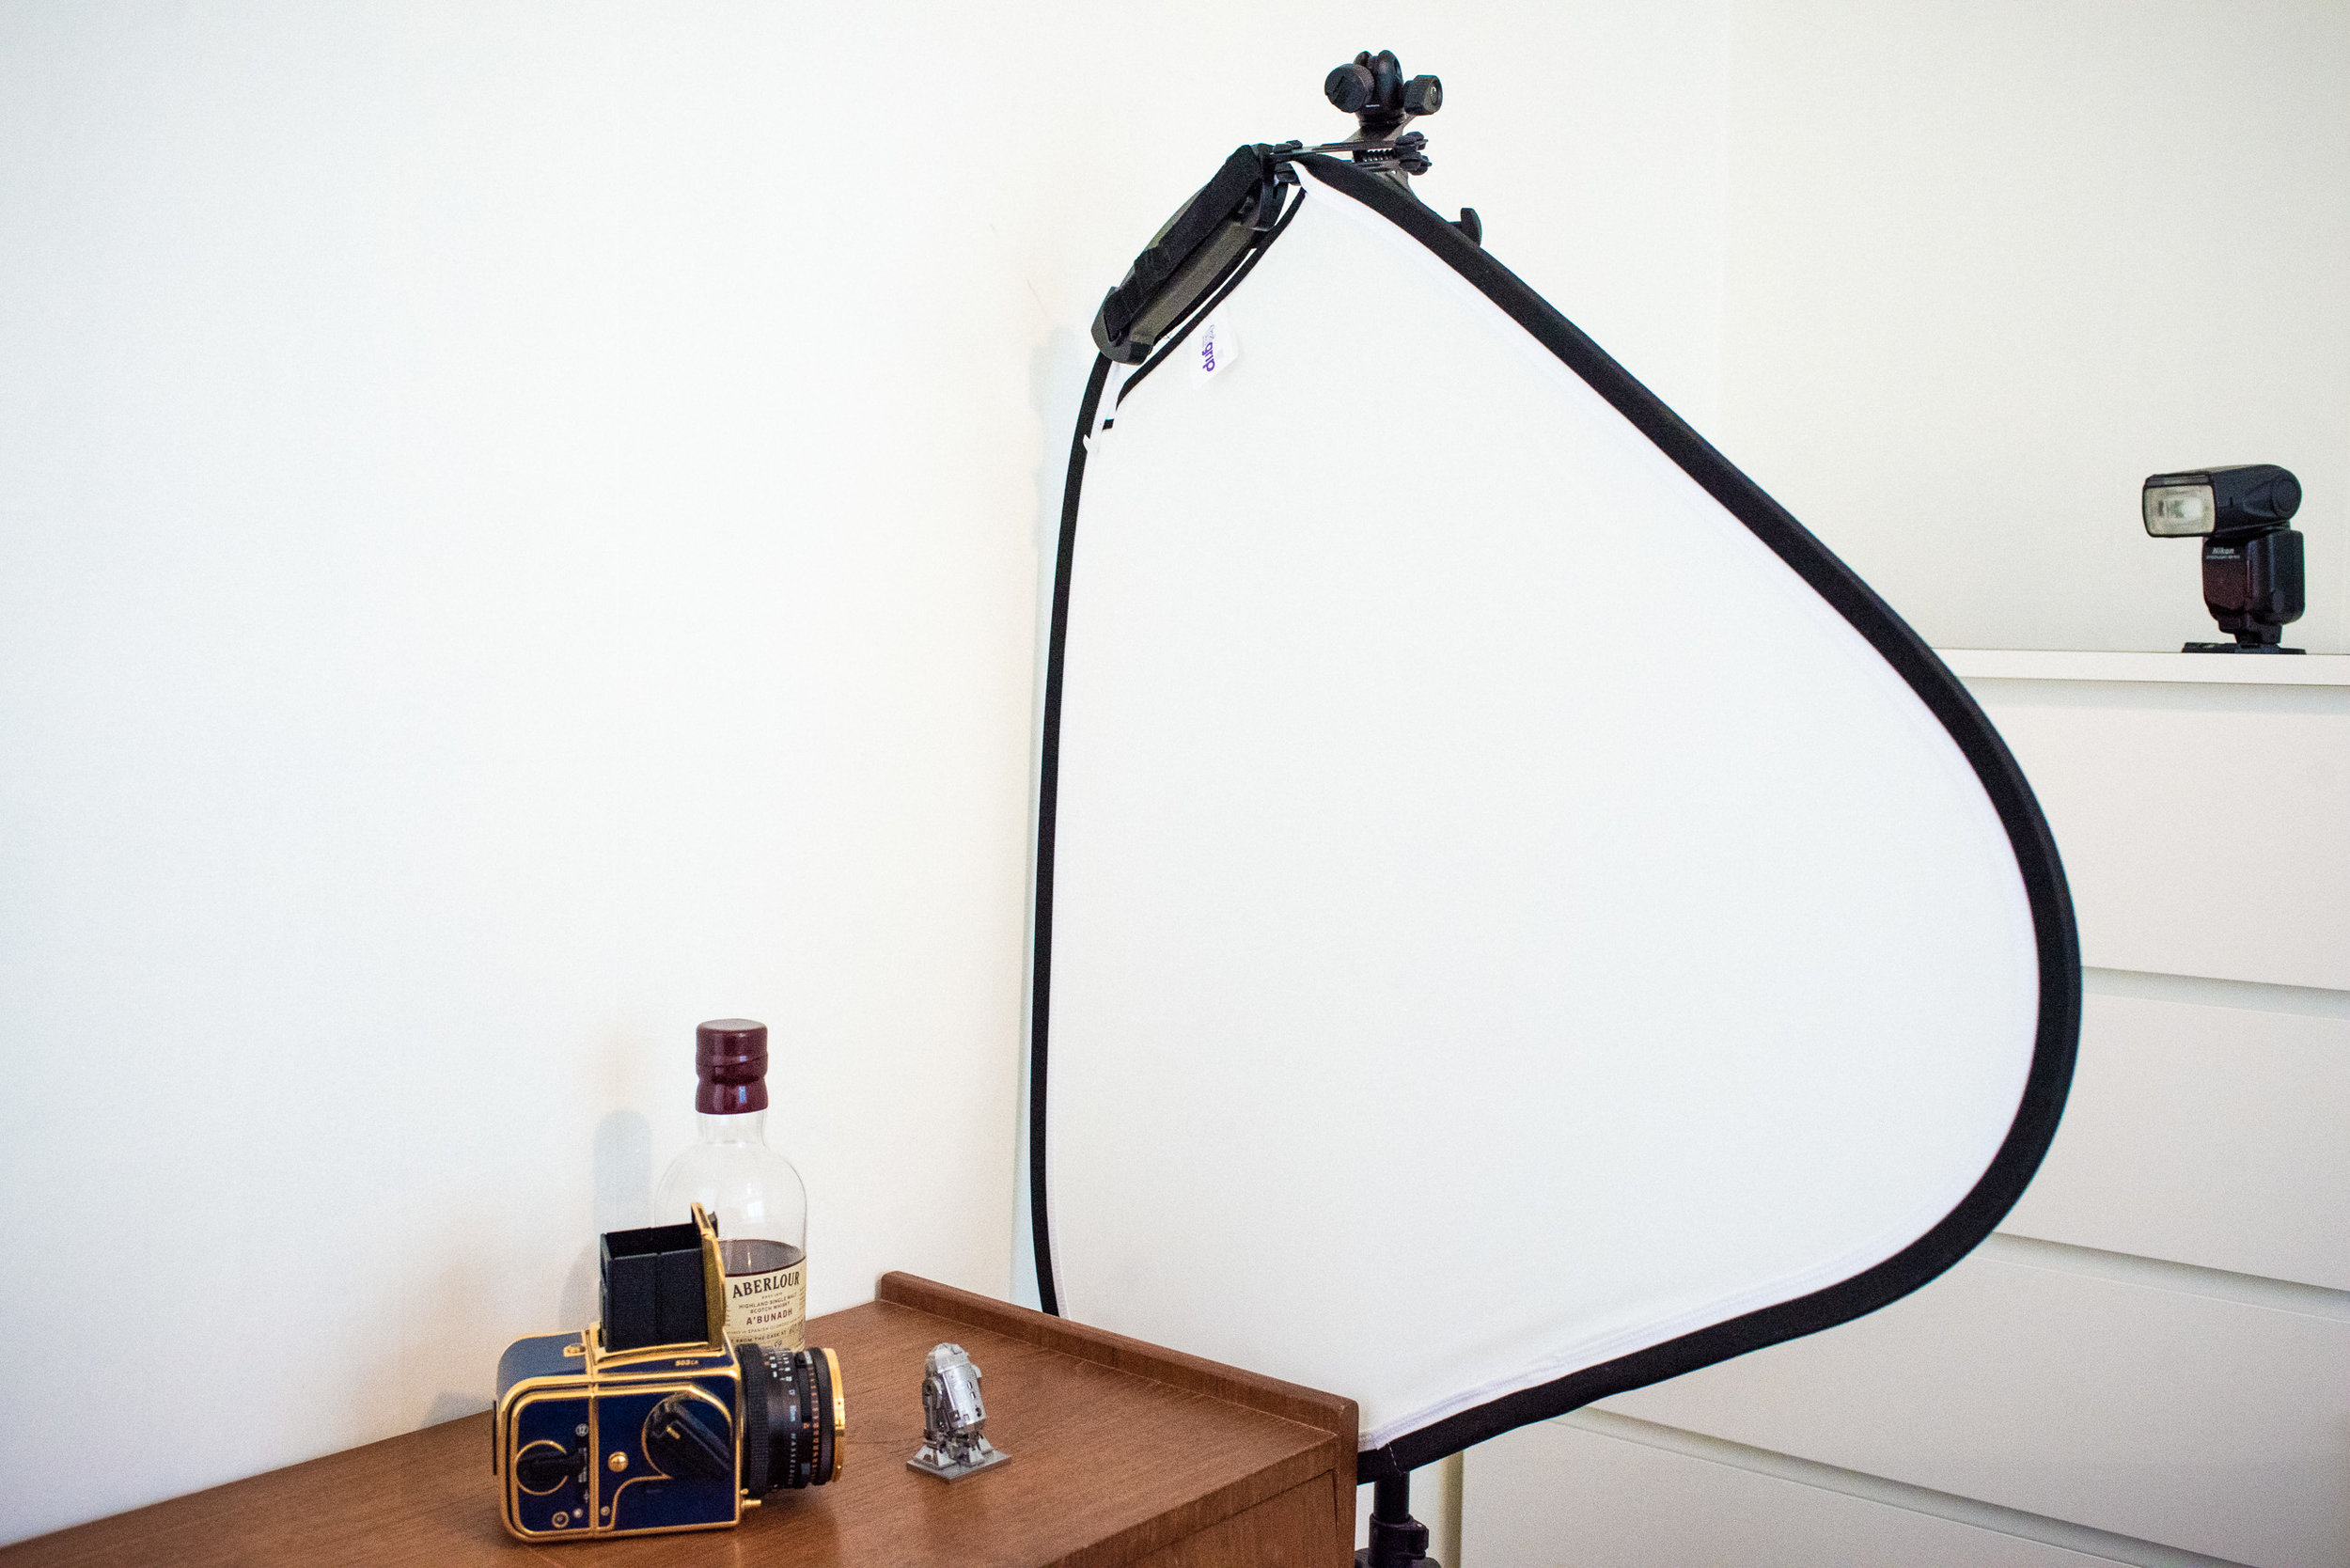
Now the next important thing, it’s all about relativity. That means, the light sources size relative to the subject you are photographing. If the source is further away it “becomes” smaller and the light harder. With that said, the closer you put the diffuser to the subject you are photographing, the softer your light will be.
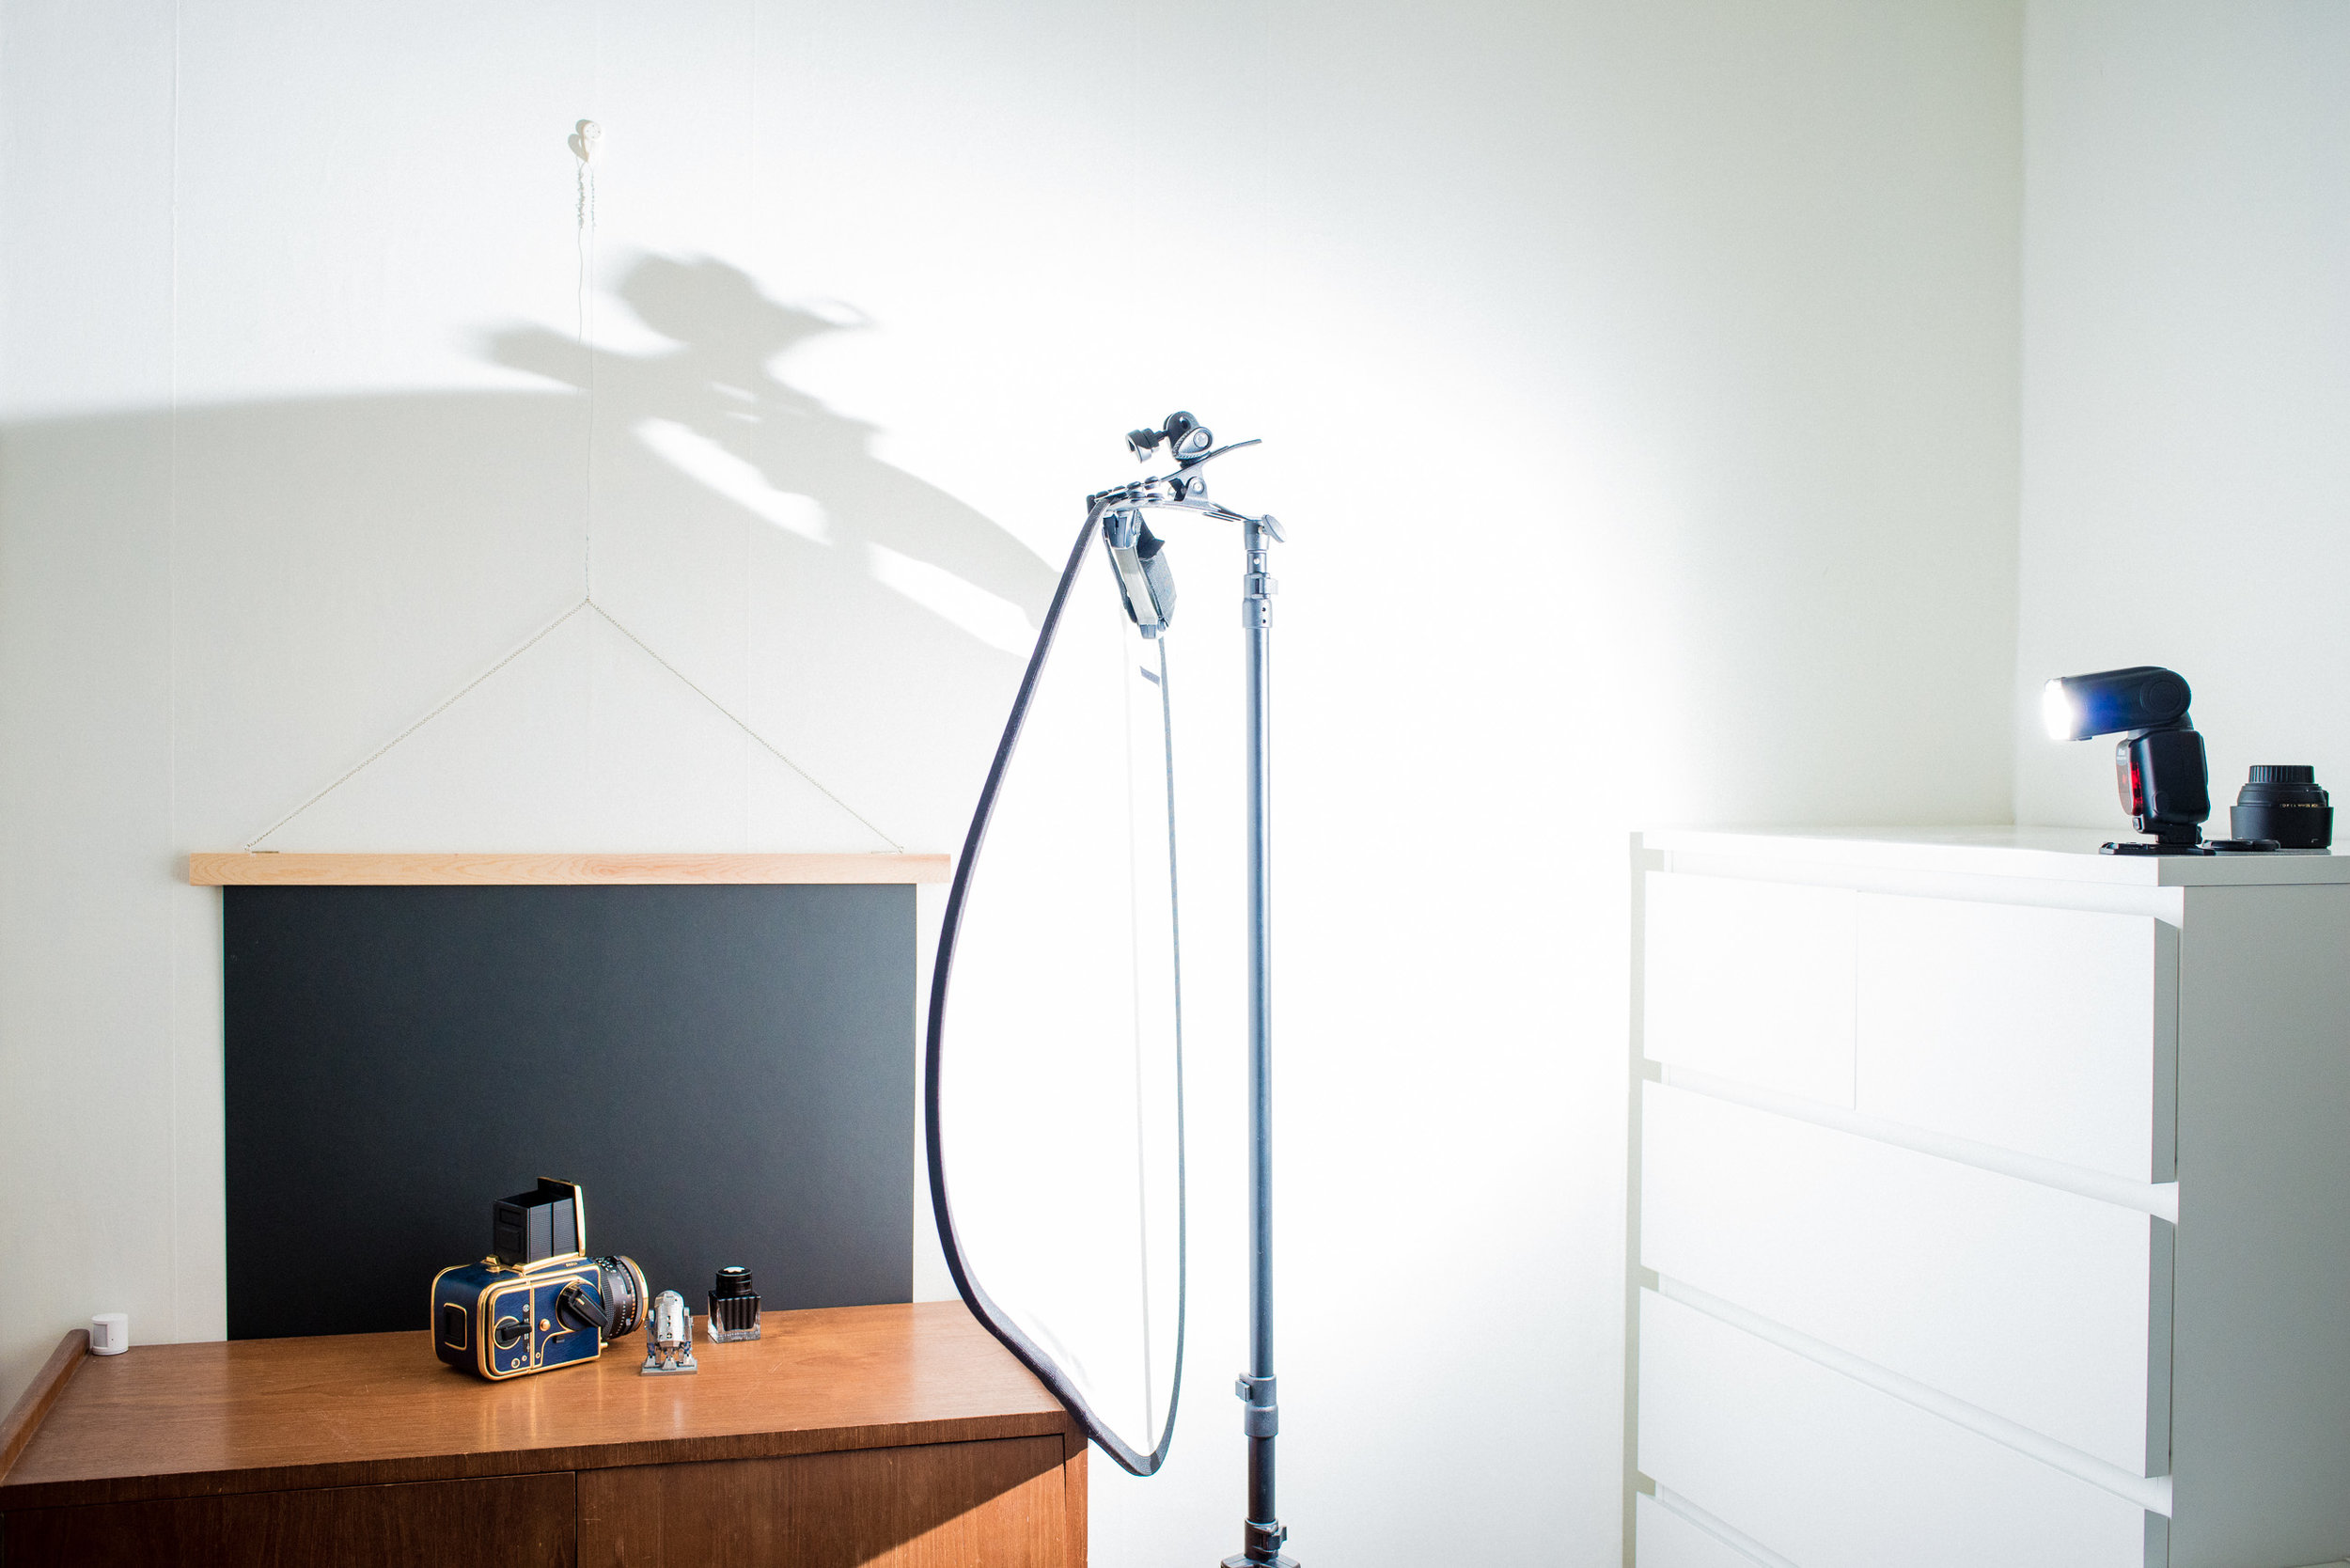
Lastly let’s talk about why the flash is so far away from the diffuser and light depth. We’ll skip the physics here and I hope you will just trust me instead of going through that part. If you put the light source close to your subject the light will rapidly fall off so you get one light side, and one dark side. If you put the light source further away you get a greater light depths and therefore can photograph something and an even light level in the whole image. And this is when you maybe ask “Wasn’t the diffuser the light source and didn’t we want it as close as possible to get the light soft? How can I then also put the light source far away to get a even light in the whole picture?”. Fear not, in this regard it is actually still the flash that acts as the light source and as that one is further away than the diffuser you can get a good light depth while still having a soft light.
So to conclude, put your flash “far” away and your diffuser close to the subject. This is because you want the closest thing the light passes through to be big relative to your subject, but you want the light source far away if you want even lighting.
edit: if you want to dive abit deeper into window light, there is a good comment in the comment section.